Tuesday, December 28, 2010

Detach, Dissect, Segregate, Cleave, Disentangle... or Separating Eggs.

If you love to bake as much as I do, I go through tons of eggs! I can't imagine how many hens I would require in order to keep up.

And until I have the desire to raise hens, Costco it is.

Sometimes, I come across a recipe that requires only one part of the egg, either the white or the yolk. Take yesterday, I made The Best Coffeecake Ever by the Pioneer Woman. The recipe requires three whipped eggwhites.

It just so happens that I am currently reading through The Essential Baker by Carole Bloom and recently read the three different ways to separate eggs.

1.) To use an egg separator tool. Which looks like this


2.) To do the ol' Eggshell Shuffle: where you crack the egg open and, while holding the egg over a bowl, pass the egg back and forth betwixt eggshells and allow the white to fall to the bowl.
Image from Simplyrecipes.com
This was my tried and true method to date and there have been several times I have messed up and dropped bits of yolk into the egg whites - which can render the entire meringue goal useless.

3.) Now I have discovered the most amazing, simple way to separate eggs and I do believe this will be my method from now on. Crack the egg open and place the egg into your cupped hand - over a bowl! - the egg white will fall through your fingers and you are left with the pretty, happy, little lonesome yolk.


Ta Daaaaaa!!!!!!!!!!!

Have any egg separation tricks to share?

Wednesday, December 22, 2010

My popular favorite, moist, delicious Scone Recipe.


This is sincerely the greatest scone recipe I have tried. In fact, I had never really had a scone until I made these. Sure, in sheer desperation I have regrettably purchased scones from coffee shops here and there... and lived to tell the tale. But one day I came across this particular recipe on the Joy of Baking website and thought it looked so simple, why not give it a try.

The original recipe is for chocolate chip scones, and they are delicious. However, I have spent months playing around with other flavor combinations and learned some neat tricks along the way and I am finally ready to share my Yummy Scone Recipe!

Some tips before you begin:

·      Have all your ingredients and tools out and ready.
·      Using a baking sheet to pour all your ingredients over so you don’t make a mess on the counter.
·      Your butter must be cold cold cold! Frozen even.
·      When measuring flour, pour the flour into the measuring cup then scrape off the excess with a flat edge. Do not scoop out your flour from the bag using the measuring cup.
·      If you do not have buttermilk, put a tablespoon (or two) of vinegar in a measuring cup and fill the rest of the way with milk or half & half. Allow it to sit for a few minutes. Voila! Buttermilk.

 Flavor choices.
There are numerous choices you can make and experiment with. Here are a few tried and true combinations:
Dried Blueberry / Chopped pecans / lemon or vanilla extract
Dried cherries / slivered almonds / almond extract
Dried cranberries / chocolate or white chocolate chips / vanilla extract
Raisins / 1 tsp of cinnamon / vanilla extract
Dried peaches / 1 tsp cardamom / lemon extract


Ingredients:
2 cups all purpose flour.
¼ cup granulated white sugar
1 ¼ teaspoon baking powder
¼ teaspoon baking soda
¼ teaspoon salt
½ cup (1 stick) unsalted cold butter
A total of 1 cup nuts and/or dried fruit
1 teaspoon extract
2/3 – ¾ cup buttermilk
1 egg
Turbinado or raw sugar for topping
Let's got all our ingredients:

Imagine a big block of butter in here too. Woops.
Let's get all our tools:
Preheat your oven:
Prepare your pan with a spray of cooking spray and parchment paper.
Also, put a handful of flour on your pan for later.
Not sure why the color looks so strange.
Measure 1/2 cup dried fruit into a small bowl and cover it with water. Allow it to sit until you are ready for it. These are dried cherries and blueberries. I'm making cherry/almond and blueberry/pecan.

In large bowl, whisk together the flour, sugar, baking powder, baking soda and salt. 

Remember, when measuring your flour, pour it from the bag into the measuring cup then scrape off the excess with a flat edge.


 Once you have all your dry ingredients, now comes the butter. It better be cold, COLD, I tell you! Frozen, even. I recently learned the greatest trick evah regarding getting the cold butter in small enough mixable pieces for the scones. There is a great food blogger named Brown Eyed Baker and she shared this trick for making perfect pie crust. I knew instantly that it would work for my scones and I can't tell you how happy I was!


Ready? Ready????


A Cheese Grater!!!!!!
Ta Daaaaaaa!!!!!!!!
Here's what I do. First, I buy large blocks of butter because I go through tons of it. You do know you can freeze butter, right? Don't be afraid to buy it in bulk just because you think you won't go through it all. Freeze that buttah!


Since the recipe calls for one stick of butter and one stick of butter equals 1/4 cup, I remove the paper to where the 1/4 cup line is, or somewhat close.


Then, grate!
 And look at this magic pile of slivered cold butter that comes forth!
 I'm telling you, it's almost too much!
 Put the butter in the bowl with the dry ingredients. Using your clean hands, smash the butter between your fingers, mixing it with the flour until it is all incorporated and looks like coarse crumbles.
See? Coarse crumbles.

Now we are going to measure 1/2 cup of slivered almonds. Oh, forgot to mention, this recipe is one of my favorites: Cherry Almond. I messed up above and used vanilla instead of almond extract. Boo hoo! S'ok. They are still amazing.


Now, drain the cherries that have been soaking in water. 

HINT: when using dried fruit in scones, the fruit cannot be larger than a blueberry or it will be too big and make the scone fall apart. So take a large knife and just chop through the fruit a few times. No need to mince it, just a good chop.
Here we have added the almonds and cherries to the dry ingredients.

Now pour in the buttermilk/extract mixture.


I like to take a big wooden spoon and swirl it around the edge a few times before I dig in with my clean hands to mix everything completely. Your hands are often the greatest tool!


Mix until dough just comes together. Then transfer the dough the floured surface on the prepared baking pan.
Shape the dough into a inch and a half thick wheel shape.


(I'm gonna stop right here and say I am so tired of Europeans making fun of how Americans do scones. So we like to add all kinds of nuts and fruit!? So we like them in a cone shape?! What of it! Are we constantly making fun of the fact that you have such little interest in dental hygiene???? Oh wait...)

Anyway, at this point I crack an egg and whisk it around a little. Using a pastry brush brush the entire top of the scone wheel with egg.


Then sprinkle with tons however much Turbinado or raw sugar you like. Or not, maybe you are European and rolling around in disgust at all the sugar this American puts in her pastry. That's OK. I can out-sugar you any day.
Taking a large knife, cut across the wheel a total of 4 times. Like a pizza! So you end up with eight separate scones.
Carefully pull them apart and distance each scone from one another. Scones do not play nice with each other.
 Slide into the oven. Set the timer for 16 minutes then turn the entire pan and add another 2 minutes to the timer.
 Voila! Moist, American Scones! (tee hee) 


You can easily make a double batch of scones, place them on two separate pans, bake one right away and cover the other with plastic wrap. This pan can remain in the fridge for up to three days. Imagine, fresh baked scones during the week!
 

Monday, December 20, 2010

Candied Orange Peel, AKA Candy!!!!


Having just visited the library and waiting for my son to get out of school, I was browsing through The Essential Baker, by Carole Bloom which I happened to grab off the shelf while chasing my two toddlers through the cookbook section. How happy I am to have this book in my possession! I have been reading this book at night just like I read one of my Anne Rice books... all in!

I have learned so much from just the first section. Did you know baking soda has four times the rising power as baking powder? And they are not interchangeable.

The layout of the book is familiar to me; I've seen this particular layout in other cookbooks and I really like it. Each recipe is basically in a 3-column layout with ingredients on the left, details in the middle, and important info on the right. There's not many pictures so it's a lot of faith that you sorta end of end up with what the author meant.

When I opened the book it opened to page 171, Candied Orange Peel. Reading through the recipe, it all seemed so easy. Hours later my neighbor called and offered me some fresh oranges her mother had given her. Coincidence? In the end I couldn't use those particular oranges because the recipe calls for large, thick-skinned oranges, which those weren't, but it was still a nudge I believe.

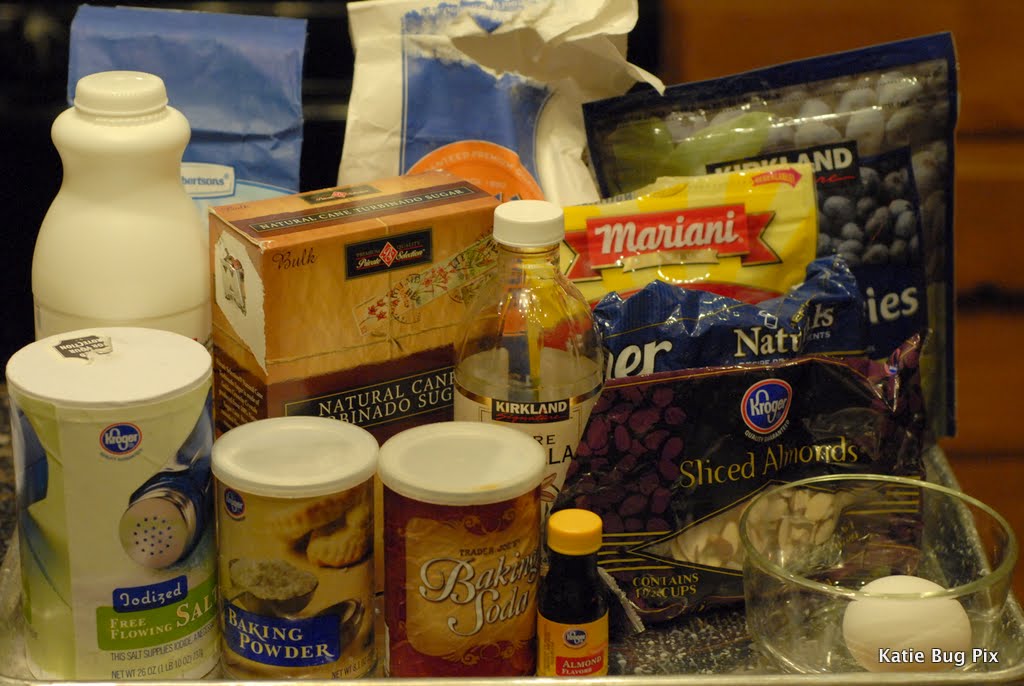
Whatever, let's get going! Words in italics are the exact recipe. My smart remarks are within.


Using a chef's knife, slice the ends off 6 to 8 large, thick skinned oranges, then cut the oranges into quarters. Cut off most of the pulp, but leave some attached. This keeps the orange peel from becoming bitter as it cooks.
Place the orange slices in the saucepan and cover with cold water. Bring the water to a boil over medium-high heat and cook for 5 minutes.

Drain the oranges with fresh cold water. Bring the water to a boil over medium-high heat and cook for 5 minutes.

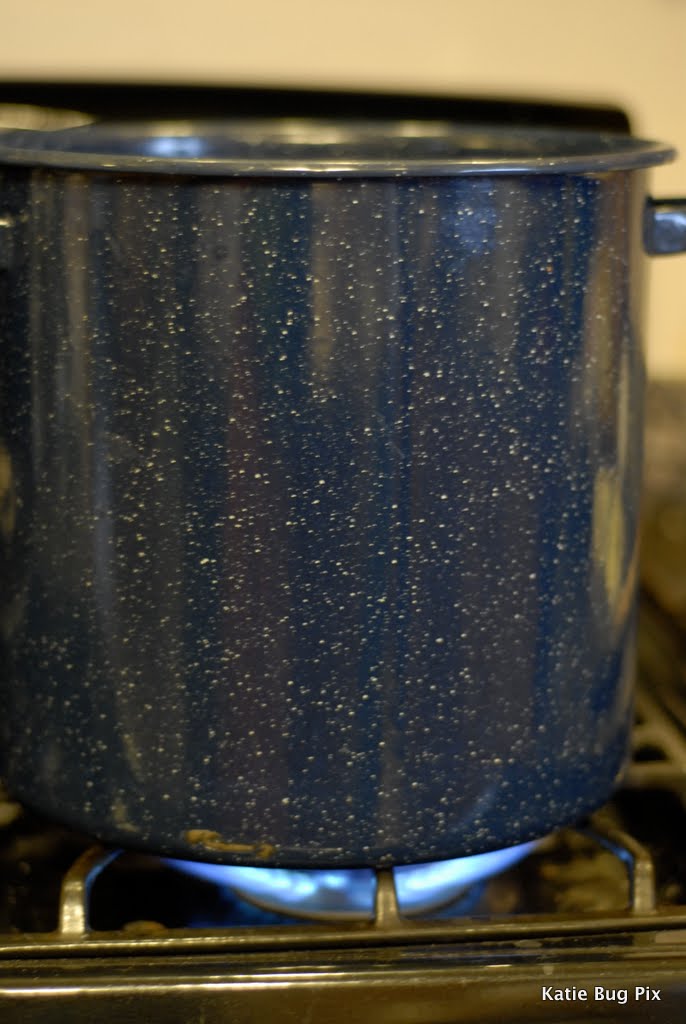
After the second draining, I realized I needed a bigger pan. So I got the big daddy out.
Continue... (That's so much better.)
Once again, drain the oranges and repeat the process with fresh cold water.

Drain the oranges and rinse them in cold water. Using your fingers, remove any remaining pulp that is still attached to the orange slices. This is exactly what the recipe says, let me tell you, they are hot! There are no using fingers to remove the pulp. Good grief! Grab a spoon to get it off.

Cut the orange lengthwise into slices.

 Here's your first 3 cups of sugar.
And your 1/4 up orange liqueur. You know why I have this stuff on hand right? Because Grand Marnier is a Oh Katie! Cookie flavor! Yes it is! 

Replace the oranges slices in the saucepan. Add 3 cups sugar and 1/4 cup orange liqueur. Cook over low heat, stirring frequently, until the sugar is dissolved, about 5 minutes.

Again, this is exactly what the recipe says, there is no talk about adding water to the sauce pan, but duh! There has to be. So I just did what I had done the previous three times, cover the slices with cold water. Add the sugar and liqueur.
Cook the mixture at a simmer over very low heat for 1 and 1/2 hours. Most of the sugar will be absorbed by the orange peel as it cooks.

Remove the saucepan from the heat.


Cover 2 or 3 baking pans with parchment or waxed paper.

On another piece of parchment paper, mound the remaining 3 cups granulated sugar.


Take large spoonfuls of the orange peel and place them in the sugar. Roll them in the sugar, separating the slices, then transfer them to the lined baking sheets and let them air dry for 20 to 30 minutes. Repeat until all the orange slices are coated in sugar.
 This coating them in sugar was a big bloody mess in my opinion. They were coming out with massive wet sugar rocks attached to them and I couldn't imagine giving these to people to eat. I mean, I could have just moistened some sugar cubes with orange extract and it would have simpler. So I was brushing off a lot of the sugar to try to get a reasonable coating.

Stop right here. Letting them air dry for 20 to 30 minutes is pretty much a joke. After that amount of time they were still juicy and wet. Maybe I have a different idea of what candied orange peel should be like, but I really wanted mine to be dry. Or at least more dry than not. So I turned the oven on 200 and put them in there for a long, long, very long time. And they were much better for it.


 However, tragedy occurred when I was attempting to... I have no recollection of what I was trying to do actually. It's all a very sad, sugar coated blur. I spilled an entire pan all over the oven door and floor.
Boo Hoo!
 Store the candied orange peel in an airtight container in the refrigerator up to 4 months.

All in all this was a pretty time intensive project. The amount of sugar seems absurd. And you throw so much of it away at the end. I wish I had some sort of brilliance about me and could have figured out what to do with all of that orange flavored sugar. But I'm not and I didn't.


Had I not spilled an entire pan it would have yielded a more realistic amount. I'm still not sure what to do with it. I guess I could put it in little tiny jars for gifts. Or keep it in the fridge and shop up to put in scones or muffins. I could always get crazy and garnish a pretty cake with it.
My mother has a mutant lemon tree at her house so I grabbed a few when I was there this past week.
I spent the second have of the day trying the recipe with these crazy lemons.
It didn't work out. The end product tasted grossly bitter and I couldn't think of how to salvage them. Or maybe I just didn't feel like trying because I had spent the entire day boiling and sugaring with only about 2 cups of end product to show for it.

One last thing, in between all of this I had the idea to just get our Christmas Card picture out of the way. So I ordered the husband to grab the tripod, the camera, and a kid.

The Best we Could do. Merry Christmas 2010